How to add the navigation menu #
1. To create a navigation menu, you need to visit the Appearance > Menus page in your WordPress admin dashboard.
2. Provide a name for your menu, like ‘Top Navigation Menu’,
3. Click the ‘Create Menu’ button.
4. Next, you can choose the pages you want to add to the menu. You can either automatically add all new top-level pages, or you can select specific pages from the left column.
First, click the ‘View All’ tab to see all your site’s pages. After that click the box next to each of the pages you want to add to your menu, and then click on the ‘Add to Menu’ button.
5. Once your pages have been added, you can move them around by dragging and dropping them.
This way you can change their order and rearrange them.
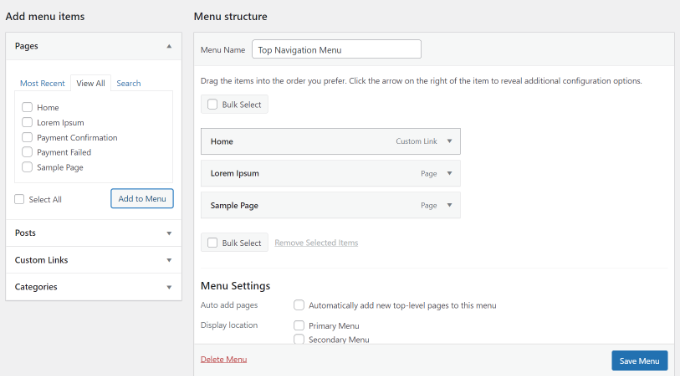
Note: All menus have their items listed in a vertical (top to bottom) list in the menu editor. When you put the menu live on your site, it’ll either display vertically or horizontally (left to right), depending on the location you select.
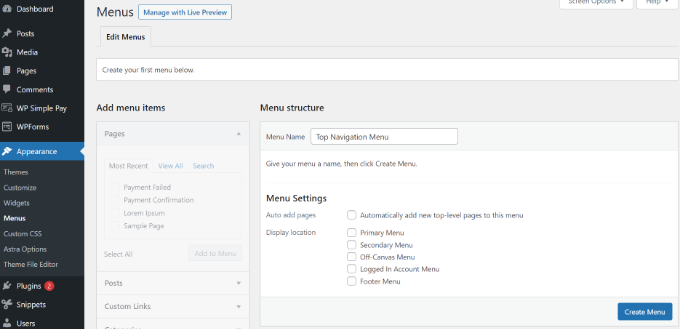
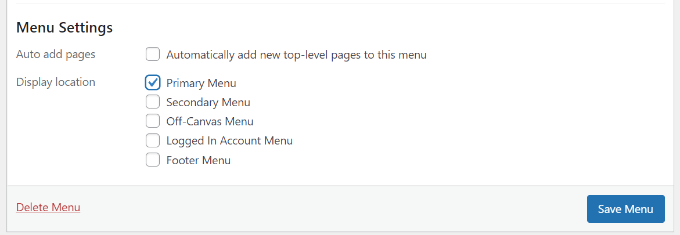
Most themes have several different locations where you can put menus. In this example, we’re using the Astra theme, which has 5 different locations.
After adding pages to the menu, select the location where you want to display the menu and click on the ‘Save Menu’ button.
Here’s our finished menu on the site:
How to remove pages from the navigation menu #
Any menu item can be edited by clicking on the downward arrow next to it.
You can change the name of the menu item here. This is also where you can click ‘Remove’ to take the link off your menu altogether.